Creating the cloudy sky uses a similar process as the previous step.
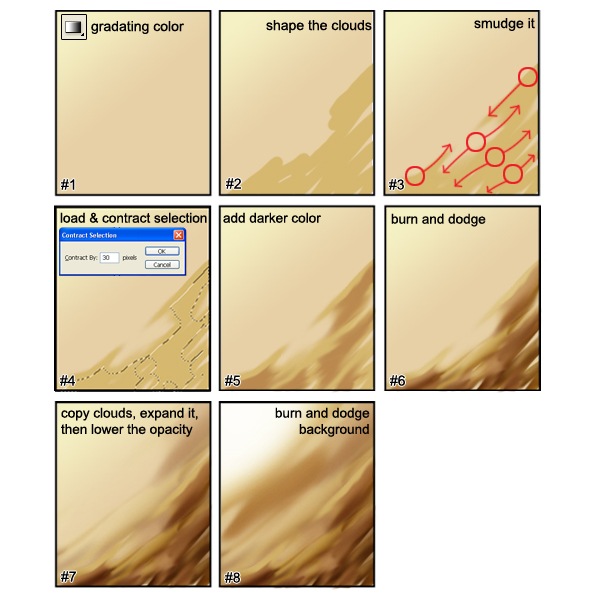
- Create a new layer for the sky and name the layer “sky”. Use the Gradient Tool to create a gradient like the image above (#1).
- Create a new layer above the sky layer and name this “clouds”. Use the Brush tool and paint some lines to create the shape of the cloud.
- Use the Smudge tool to smudge the cloud layer in the motion shown (#3).
- Load the selection of the clouds layer (Select > Load Selection). Choose Select > Modify > Contract and contract the selection like you did when you were creating the smoke. The selection should be close to half of what it was. You may have to try this more than once to get the right value.
- Create a new layer and mane this layer “clouds 2”. Position it above the clouds layer. Select a color that it slightly darker than the color you used to create the clouds. It should still have the same hue and saturation. Paint the selected area with this color.
- Use the Dodge and Burn tools to add volume to the clouds so that they look 3D.
- Duplicate the clouds layer then use the Free Transform tool (Edit > Free Transform) and enlarge the cloud. Set the opacity of this new layer to 75%.
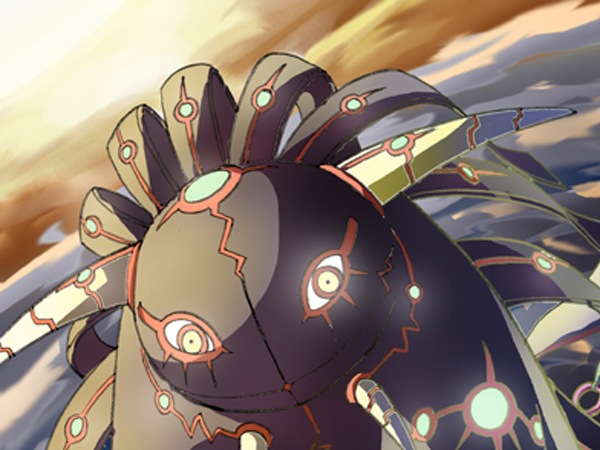
- Use the Dodge and Burn tools on the sky layer to create a light source.
Step 10 – Adding Light
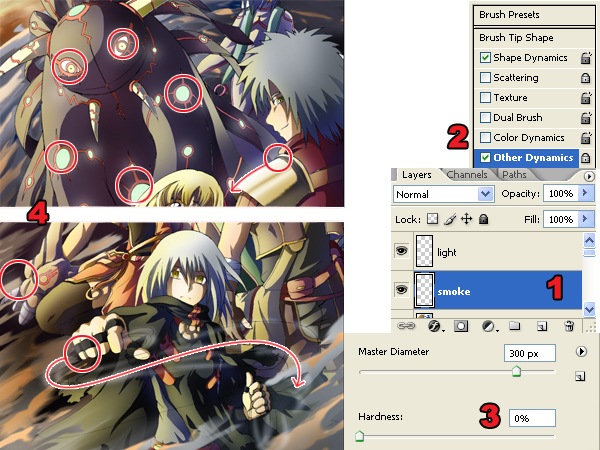
- Create a new layer and name this layer “light”. Move the layer to the very top so that it is above all the other layers.
- Select the Brush tool. In the Brushes palette (Window > Brushes), checkmark the Other Dynamics option.
- Set the brush hardness to 0% for soft edges.
- Select white as the foreground color then paint the areas where you want the light to appear. The image above shows the areas that were painted.
Step 11 – Tinting With a Gradient
This step will show you how to create more realistic colors by warming the areas closest to the light source and cooling the areas away from it.
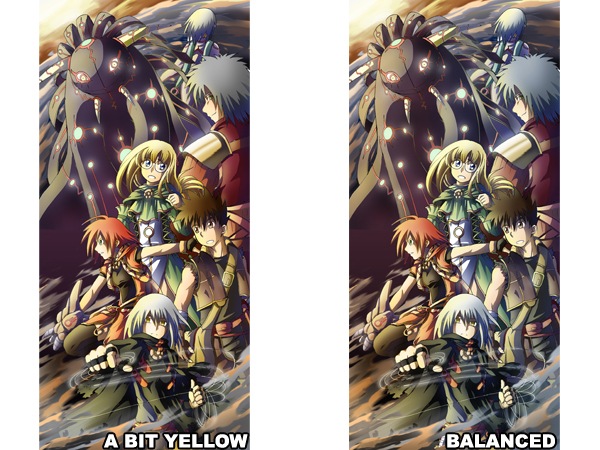
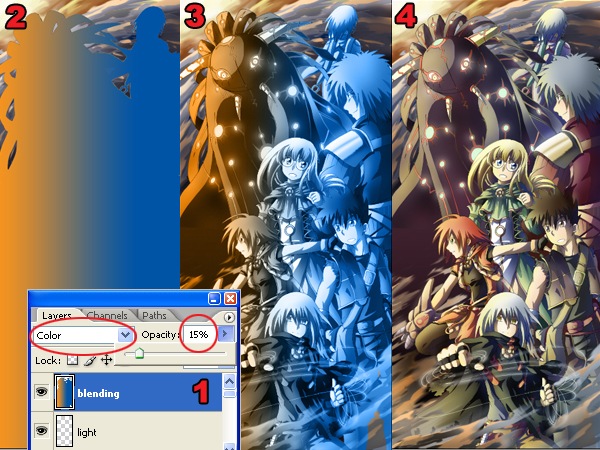
- Create a new layer and position it above all the other layers.
- Load the selection of the characters then use the Gradient tool to create a orange to blue gradient. Because the light source of the drawing used for this tutorial is from the left side, I will draw a gradient from the left to right. This will make the left side warmer and the right side cooler.
- Change the blending mode of the current layer to Color.
- Lower the opacity to about 10-20%.
Final Results
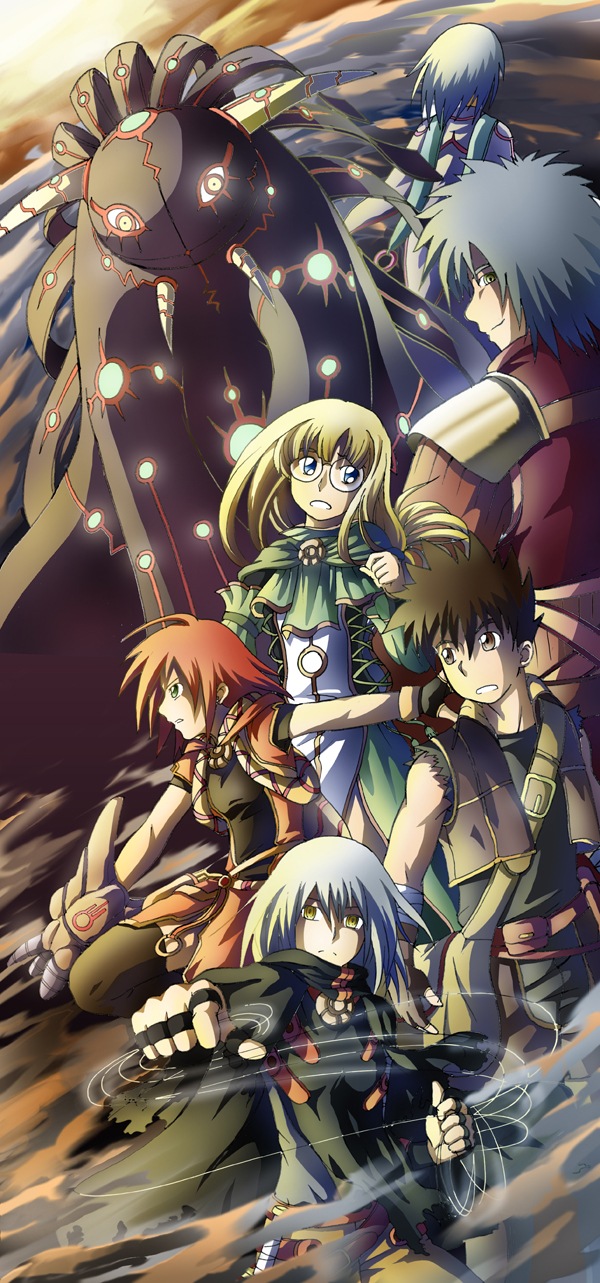
The image above was created by Adimas Soekidin. You can view more of his work at his deviantART gallery.
No comments:
Post a Comment