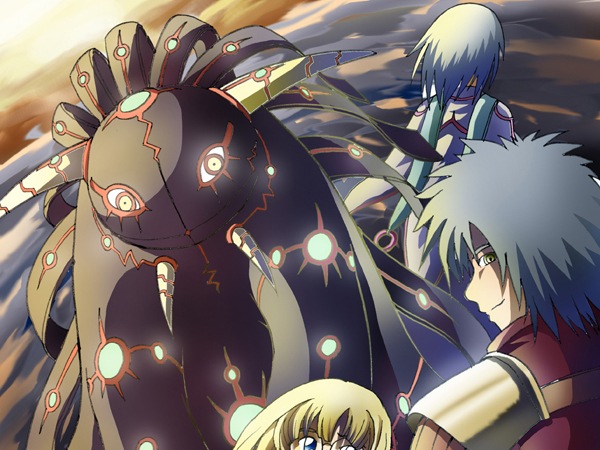
Coloring the outline will add more detail to the final image and it’s easy to do.

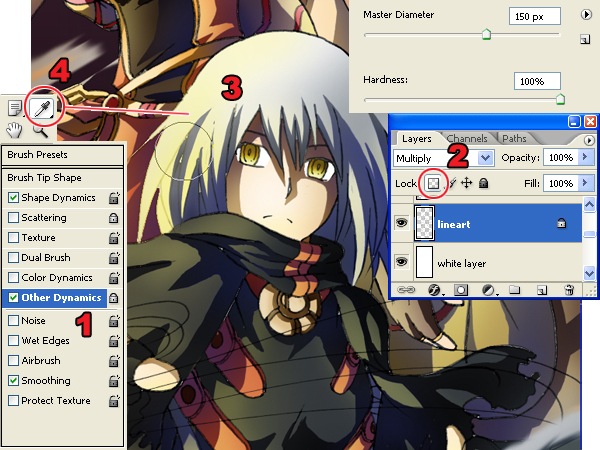
- Leave the brush presets on.
- In the Layers palette, select the layer with the outline then lock the transparent pixels by clicking on the
 button.
 - Use the Brush tool to color the outline using a color that is close to the outline.
- Keep using the Eye Dropper tool to select the color beside the outline.
Step 8 – Creating the Smokes
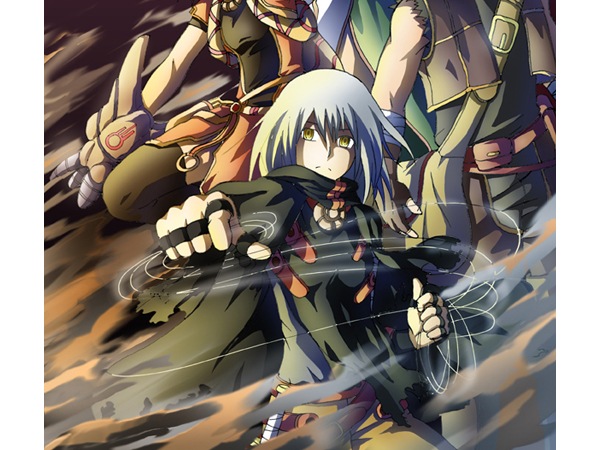
Now you’ll learn how the smoke swirling around the characters were created.


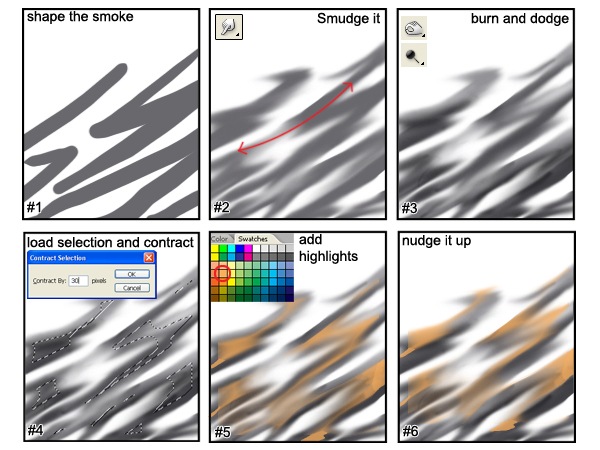
- Create a new layer for the clouds. Use the Brush tool with a hardness of 100% and paint some zigzag shapes for the smoke.
- Use the Smudge tool to smudge it in the motion shown above.
- Use the Dodge and Burn tools to create volume on the smoke so that it looks 3D.
- Load the selection (Select > Load Selection) of your smoke layer. Choose Select > Modify > Contract and enter an amount that will make the selection half its size. You may have to undo and try this several times to get the correct amount.
- Create a new layer for the smoke highlights. Use the Brush tool and paint inside the smoke with yellow orange.
- Select the Move tool and nudge the layer up by pressing the up arrow on your keyboard.
No comments:
Post a Comment