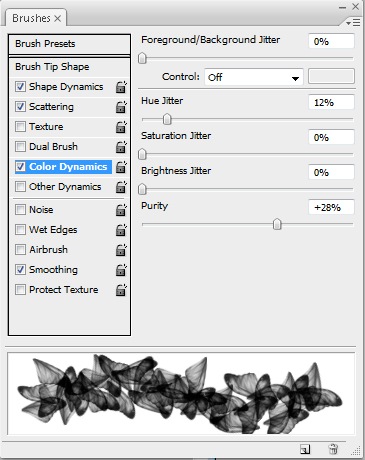
Step 11
Change the Hue Jitter to 12%, because we want to somewhat adjust the hue as the brush is clicked-and-dragged, but within a certain range. Setting it to 100% would cause it to include the entire color range.
Step 12
Now for the fun part: click-and-drag with the Brush tool in a curve.
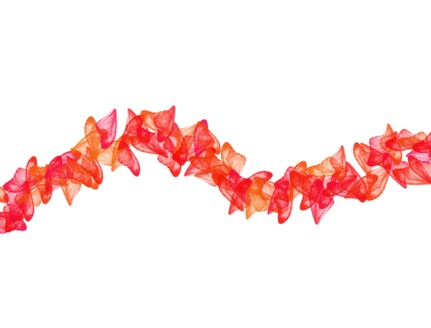
Step 13
Whatever color is selected in the Foreground in the toolbar is the color of the brush. You can have a jitter between the foreground and background color as well as hue jitter from the foreground color.
Step 14
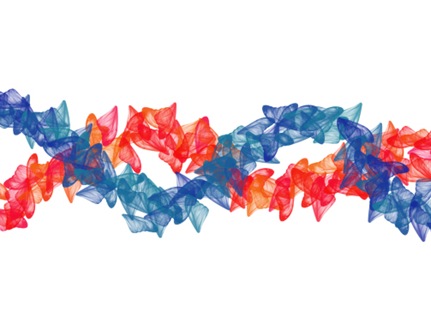
If you create a second curved brush path like this, click on New Layer on the Layers palette first, so that we can adjust the layer blending mode on the Layers palette. In this example, I adjusted the top layer blending mode to Multiply.
Step 15
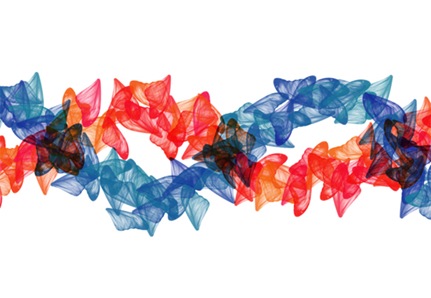
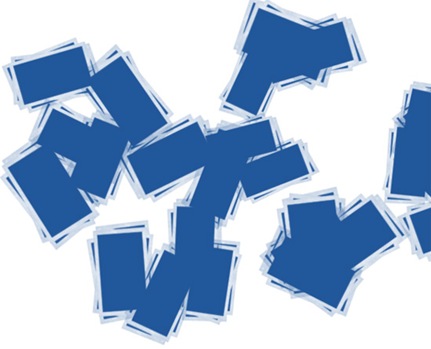
Try various photos and converting them to brushes using the same steps here. Brushes with added Shape Dynamics and Scattering can help create a unique background, such as this one created with a photo of Polaroids.
Step 16
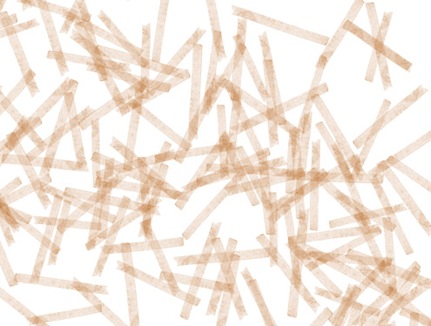
This one was created with a scan of tape. Besides creating unique paths, backgrounds are often created with such brushes.
No comments:
Post a Comment