Step 1
Open Photoshop and open a photo to use as a brush. It should be something that would work in a pattern, where the content of the photo is obvious as various sizes. I'm using this "blue angel wing" I found on iStockPhoto. IT should be relatively large, perhaps 1000 pixels for both width and height. If you create a brush at a small size, setting the brush to a larger size than originally created will cause it to lose resolution. But making it smaller is no problem, just like resizing a photo.
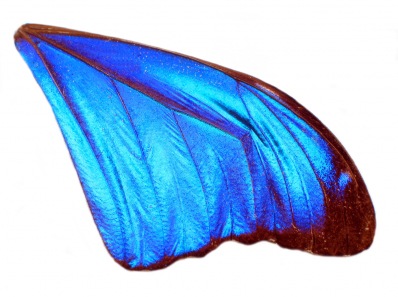
© ISTOCKPHOTO/DON WILKIE
Optional: You can download this file to use at http://www.istockphoto.com/file_closeup.php?id=130023 or use a similar one.
Step 2
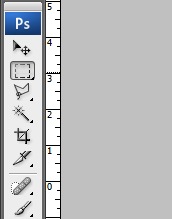
To first define a brush, we need to select the area. Click the Rectangular Marquee tool on the toolbar.
Step 3
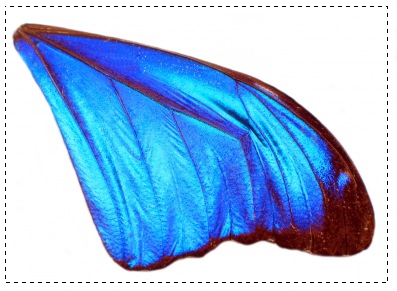
Click-and-drag a selection around the photo. We don't need to remove the white pixels first because they will be transparent in a brush.
Step 4
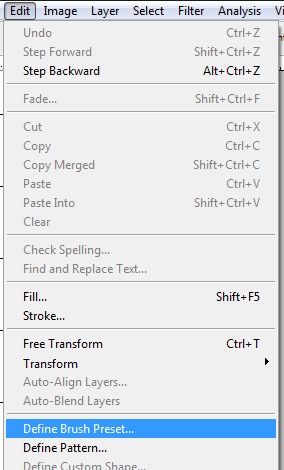
Go to Edit>Define Brush Preset.
No comments:
Post a Comment