Combining two photos to create a new look is a fun way to learn various techniques. We’ll learn how to use the Circular Marquee tool from the center, adjusting the opacity of a layer, creating a path from a selection and adding text along it in the process. Let’s get started.
Preview of Final Results

Combining Two Photos Photoshop Tutorial
Step 1
Open the support file in 

Step 2
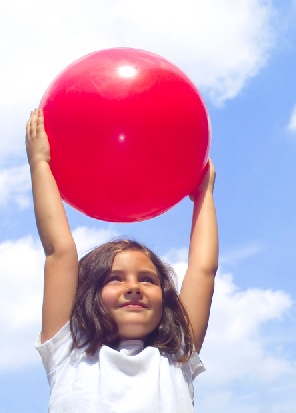
Open an image of a person holding a circular object, such as a ball. This one is by Ronald Bloom and available through iStock at http://www.istockphoto.com/file_closeup.php?id=277310.
Step 3
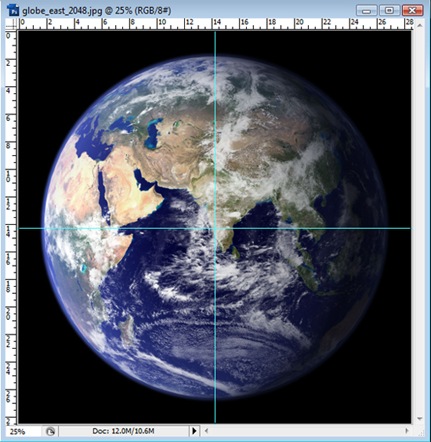
Now in the earth photo, click-and-drag a ruler guide from the top and bottom, halfway across so it’s in the middle. In the earth photo, subtract the entire length by 2 to get where the cursor needs to be exactly. Note: if rulers aren’t showing, press Command-R (PC: Control-R).
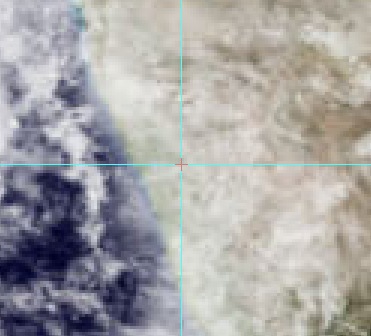
After drawing the ruler guides, hover the cursor over the center of the photo, where the two guides cross. Hold Option (PC: Alt) and click-and-drag the mouse. Hold Shift to maintain proportion. Once the Elliptical Marquee tool is around the earth, release the mouse button then the keys.
Step 4
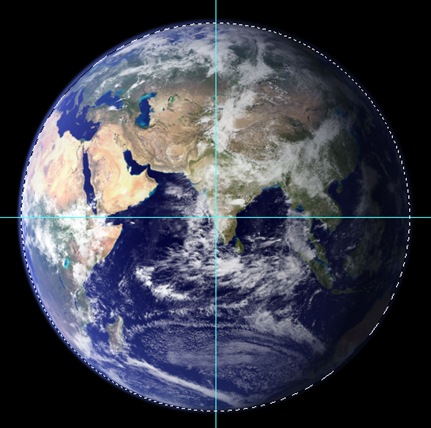
It should look like this.
No comments:
Post a Comment