Step 5
Name the brush something that matches the image, and click OK.

Step 6
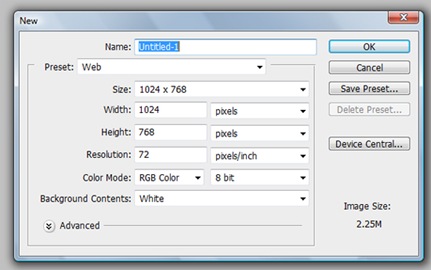
Now that we have the brush defined, go to File>New and create a new file at 1024 x 768. Click OK.
Step 7
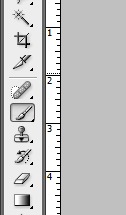
Click the Brush tool on the toolbar.
Step 8
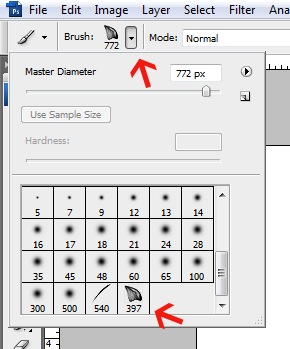
Click the arrow on the Options palette which will bring down the brush styles and size options. Scroll down and click the brush we just created. You can change the size here, or change it by pressing the left and right brackets to make the size smaller or larger. Bring the size of the brush to something much smaller, such as 100.
Step 9
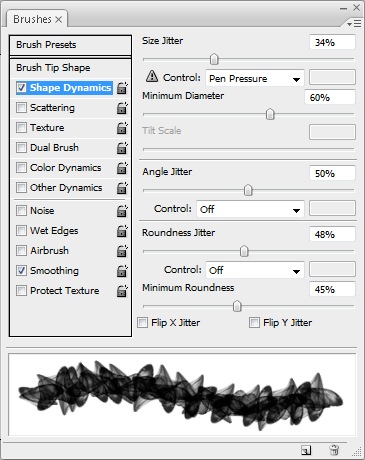
Go to Window>Brushes to bring up the Brushes palette. This palette has a lot of options for the Brush tool. Change the Shape Dynamics to these settings by clicking on Shape Dynamics then sliding the sliders. The brush can rotate to a certain degree as we brush. Try various settings as the preview shows how the brush will look.
Step 10
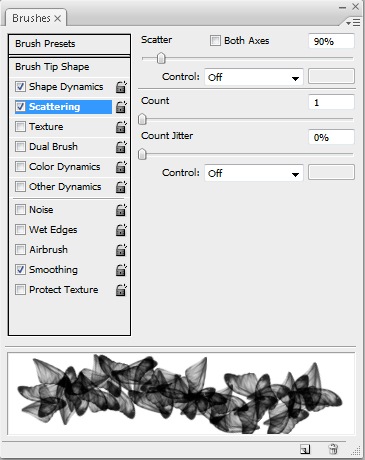
Change the Scattering to the settings shown here. Scattering does just that—scatter the brush as we brush. Try various settings as the preview shows how the brush will look.
No comments:
Post a Comment