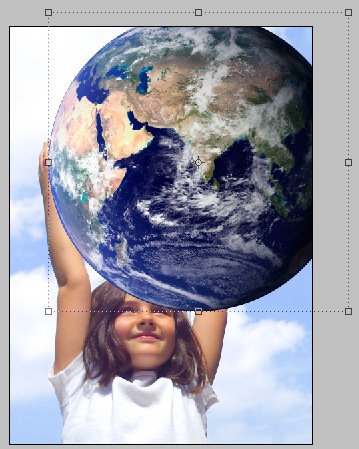
Step 5
With the Move tool, click-and-drag the earth photo selection onto the other photo.
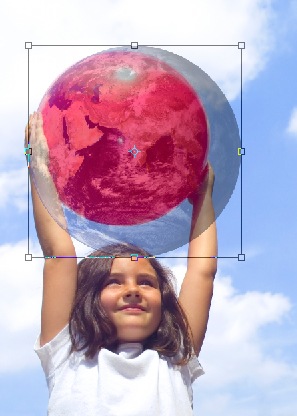
Step 6
Click-and-drag a corner of the earth layer. If there's no transform controls on the corners, make sure Show Transform Controls is checked in the Control palette. Lower the opacity of the earth layer in the Layers palette to be able to make it the correct size.
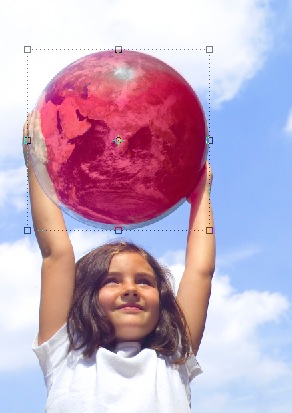
Step 7
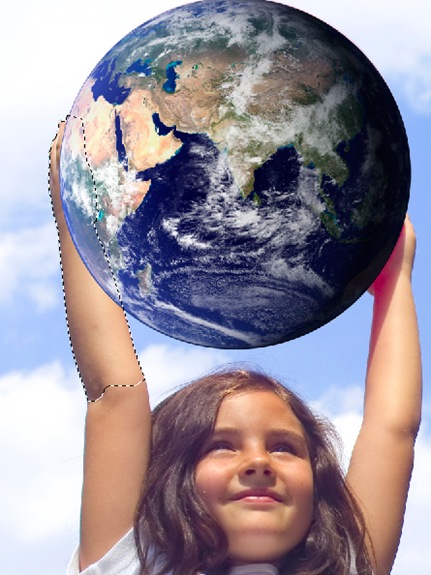
The earth needs to be a little bit bigger than the red ball here, since the ball isn't completely round.
 {mospagebreak}
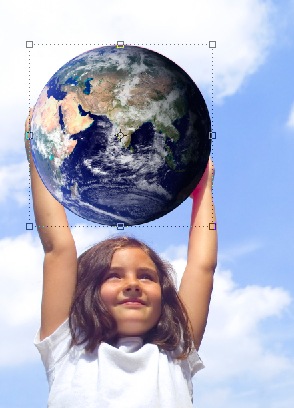
 Step 8
Raise the opacity of the layer back to 100% in the Layers palette.
Step 9
Click and Eye icon next to Layer 1, the earth layer to turn its visibility off for now. Use the Quick Selection tool and select the area that overlaps the earth and where we'll need to bring in front of the earth.

Step 10
Click the Eye icon next to Layer 1 again to make it visible. Go to Select>Inverse.
Step 11
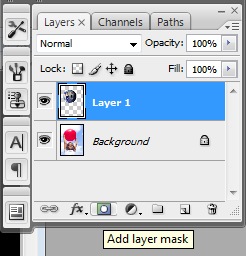
Now we need to mask out the area of the earth photo where the arm is. We mask out the area instead of erasing so that if we mess up, the pixels can be brought back instead of removing them. With Layer 1 selected, click the Add Layer Mask icon on the Layers palette.
No comments:
Post a Comment